Follow these steps to connect your WhoGoHost email to your Android device:
- Open Settings on your Android device.

2.Scroll down to Accounts and tap Add Account. Choose either POP3 or IMAP.

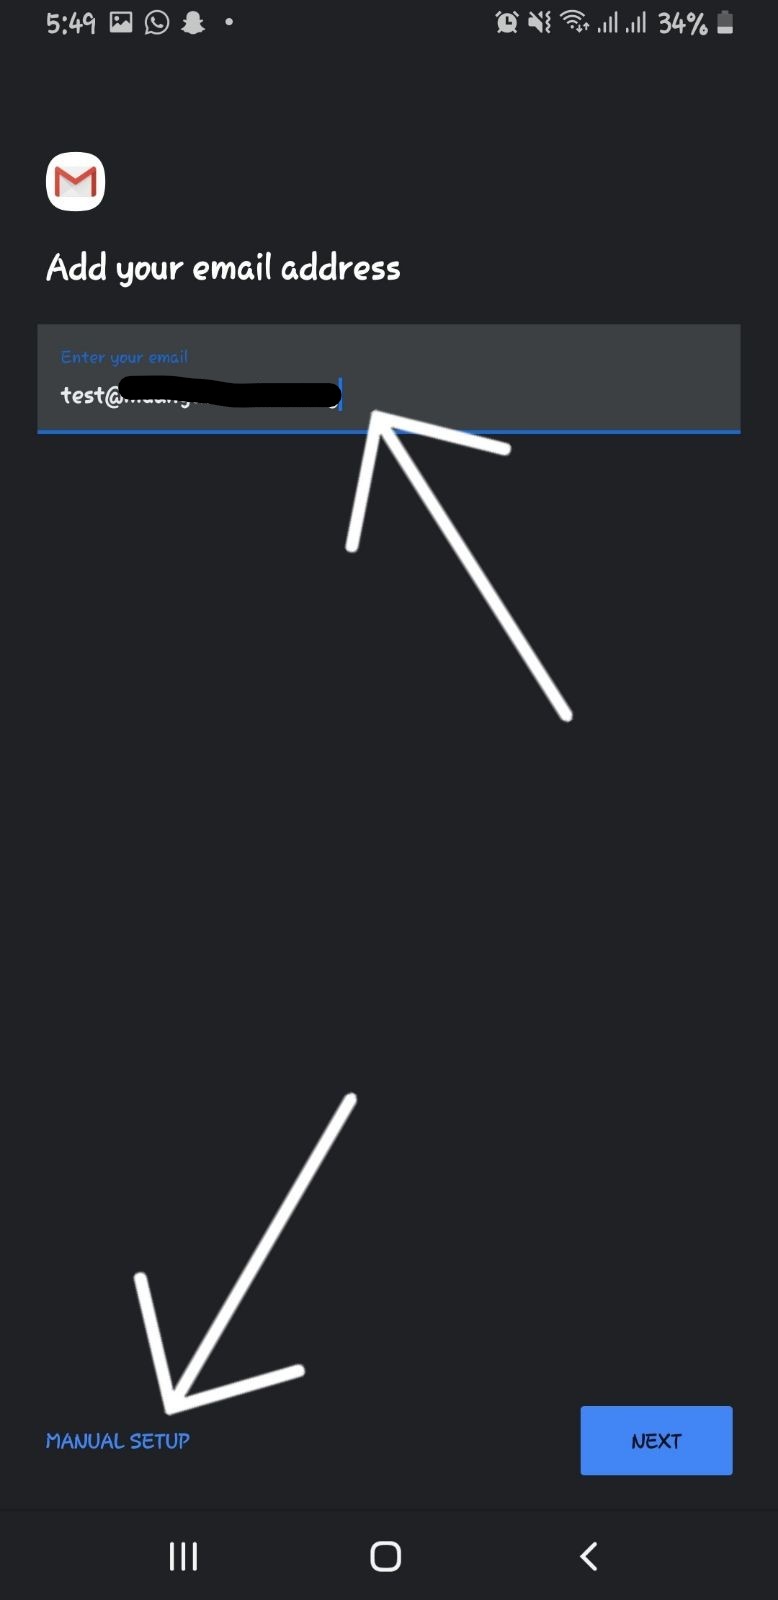
3. Enter your full email address (e.g., email@yourdomain.com) and tap Manual Setup, then Next
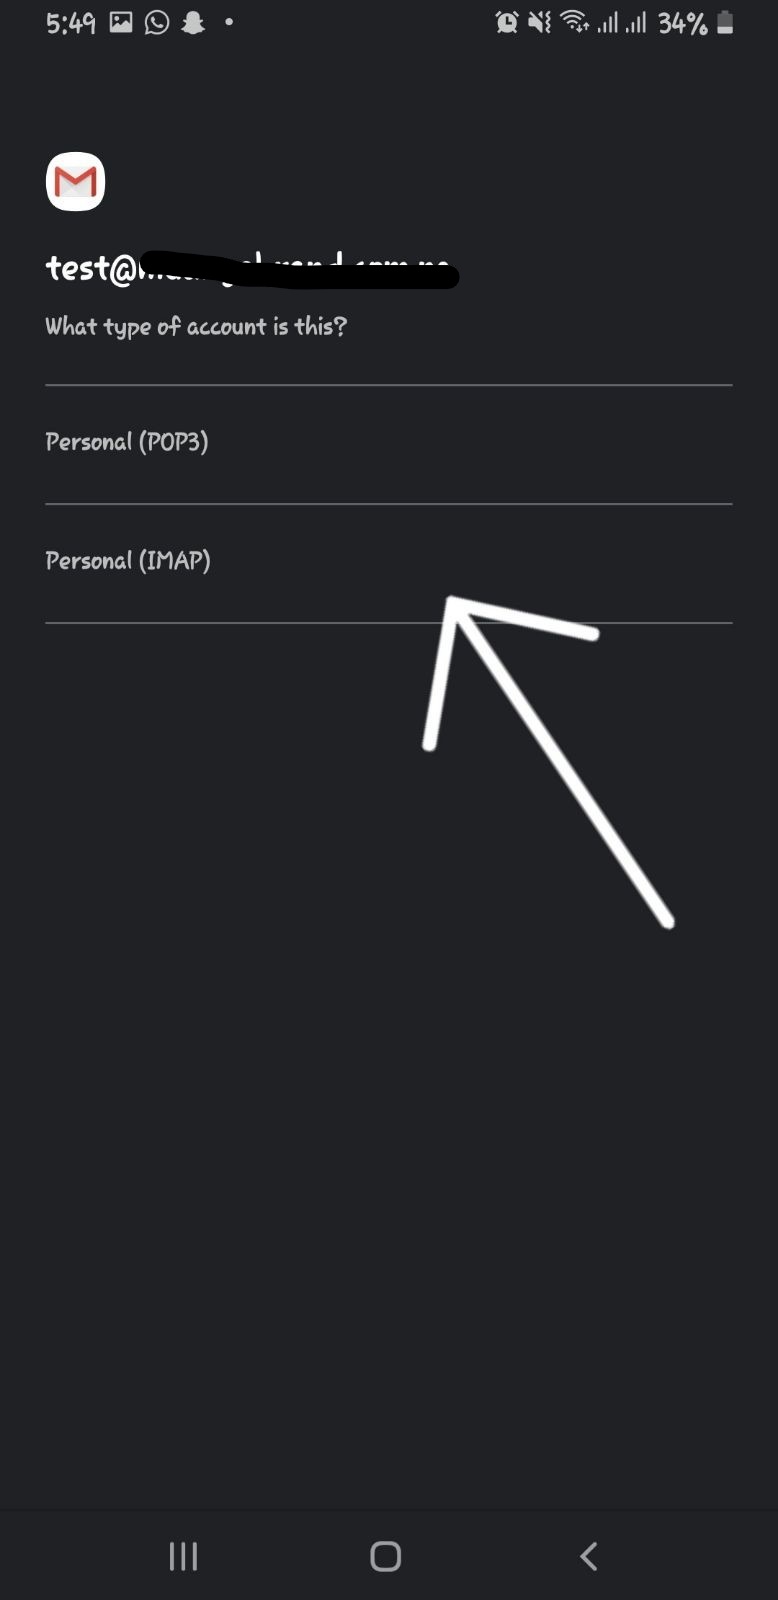
4. Select the account type: POP3 or IMAP.
5. Enter your email password.

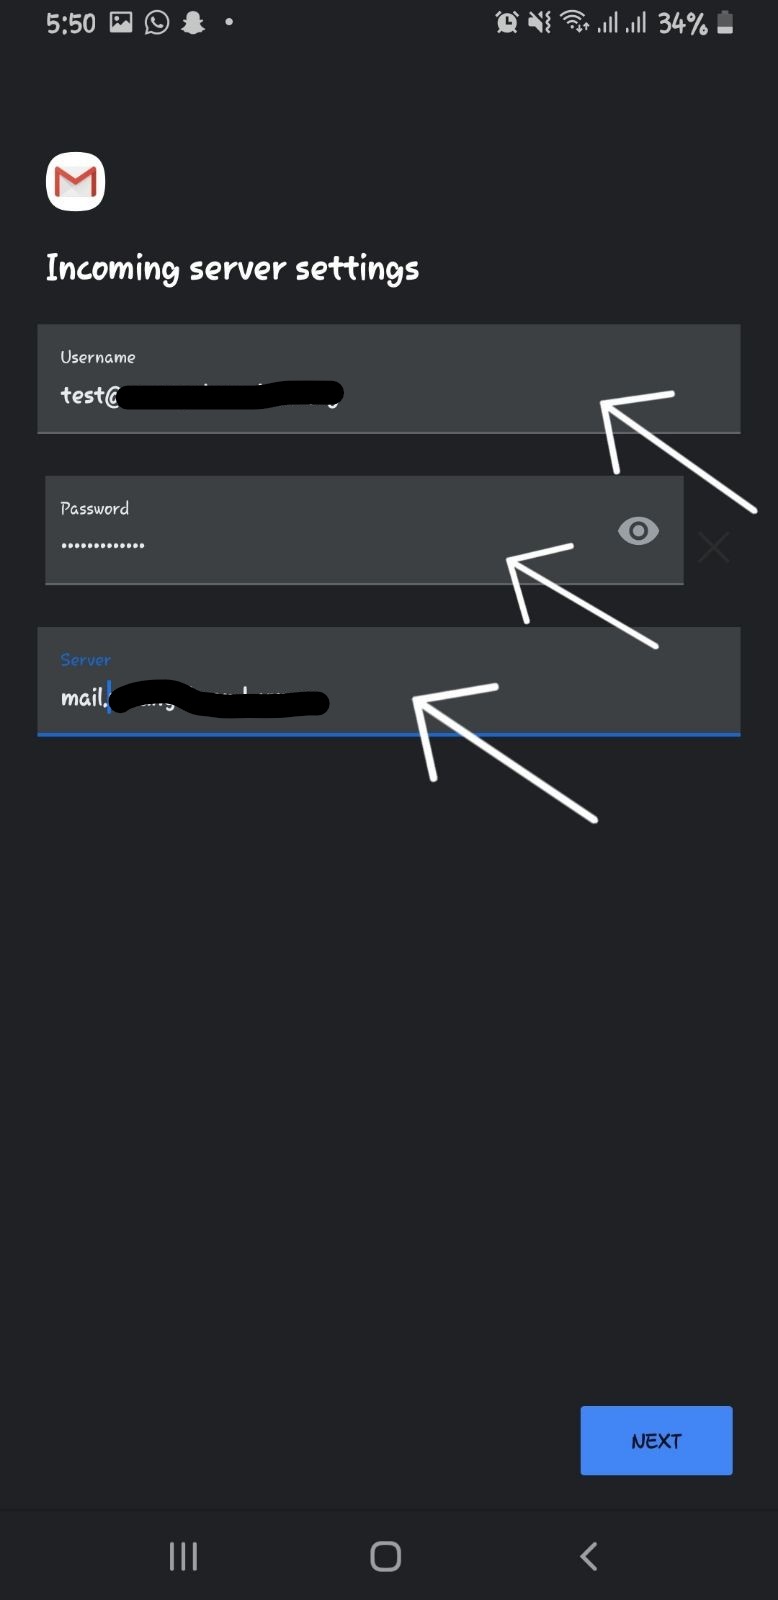
6. For the Incoming Mail Server, enter:
- Username: your full email address
- Password: your email password
- Server: mail.yourdomain.com
7. For the Outgoing Mail Server, use the same details, then tap Next.

8. Your email account is now active on your device.
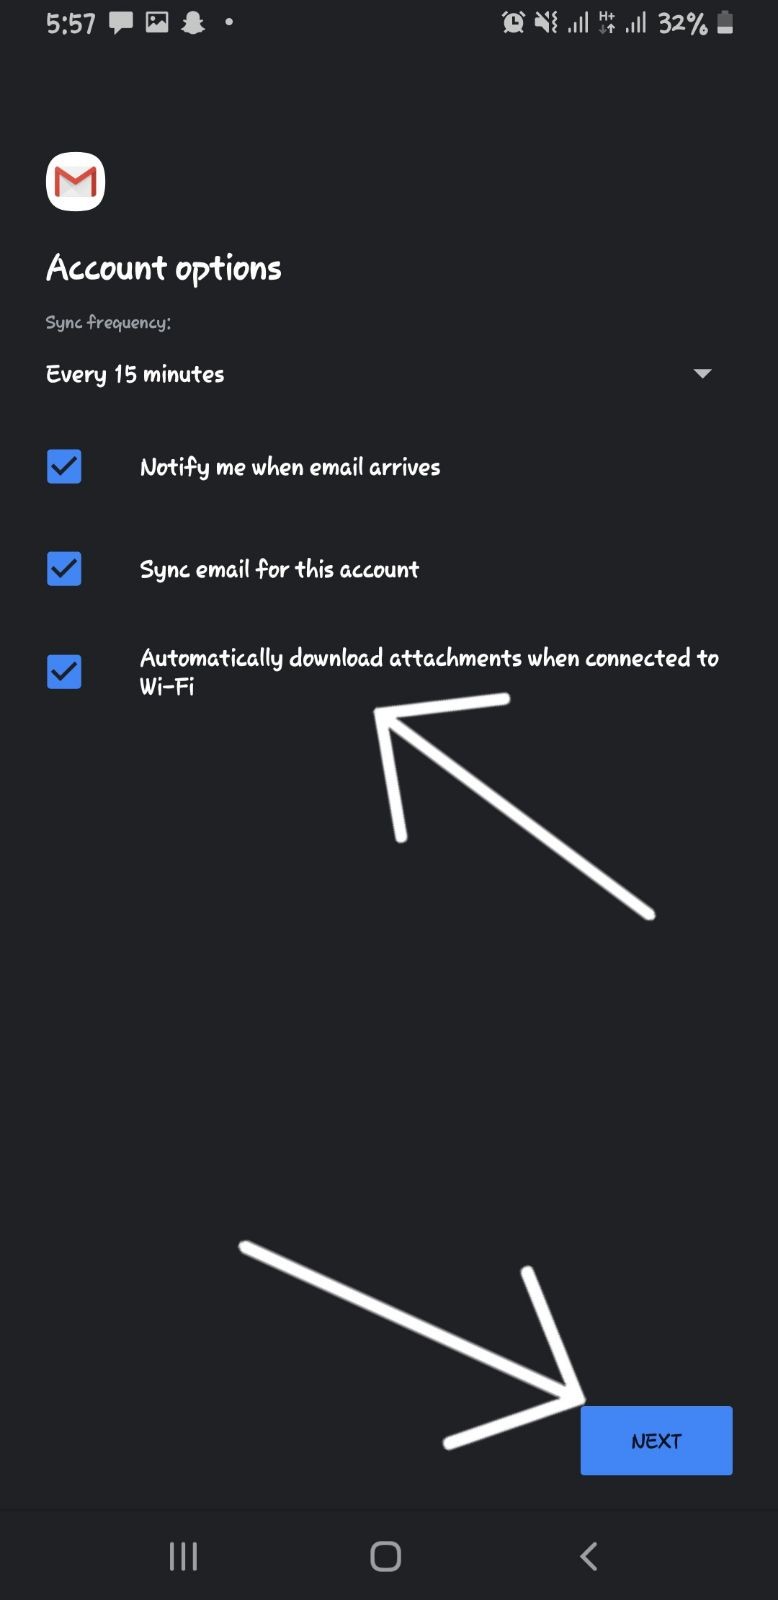
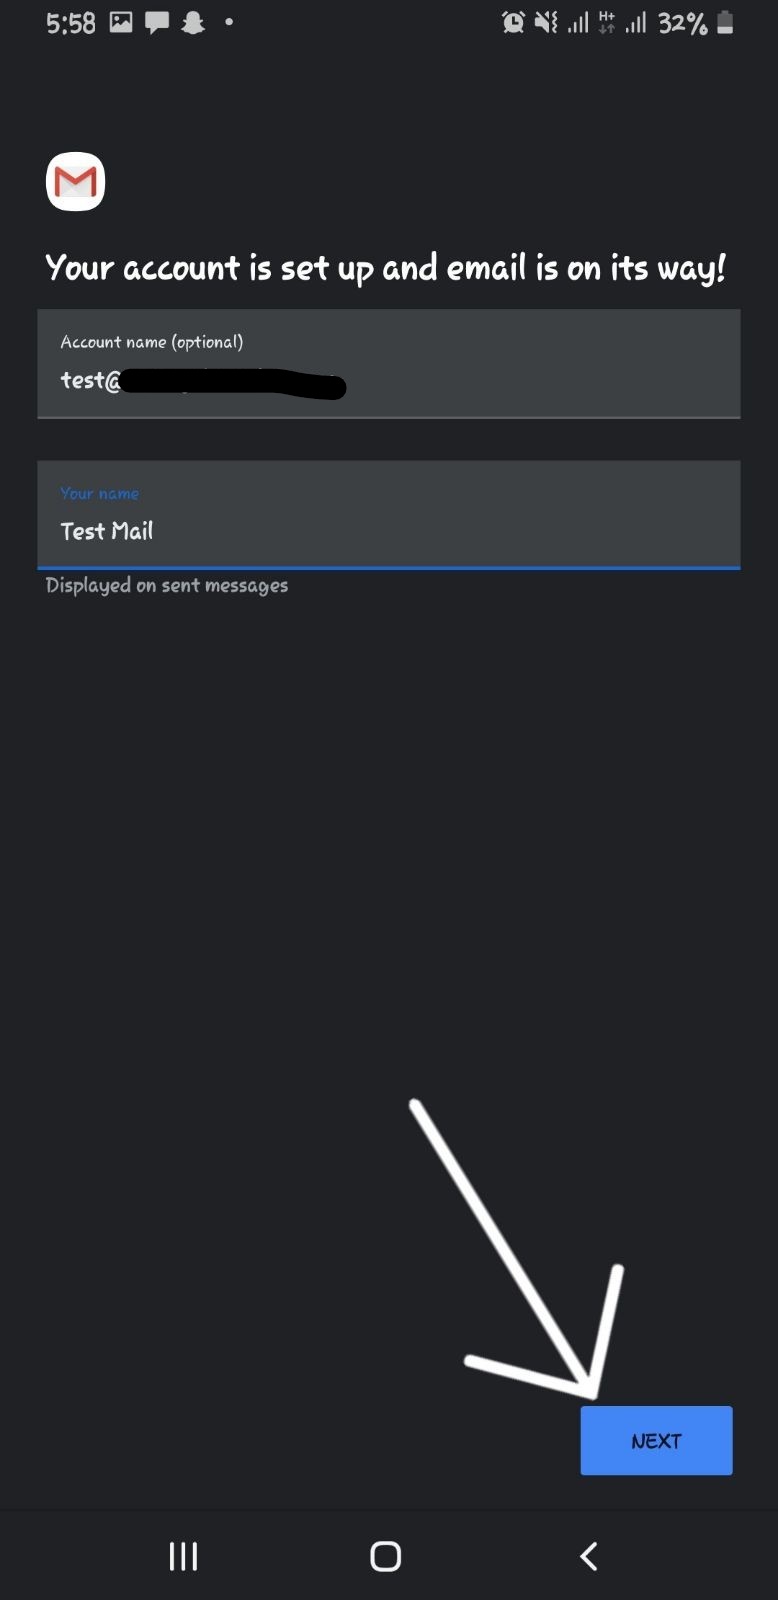
9. Finalize your setup:
- Account Name: give your account a name to identify it on your phone
- Your Name: type the name you want shown to your recipients (e.g., “Wale Sobo”)
Tap Next to complete the setup.
Your WhoGoHost email is now ready to send and receive messages on Android.
Follow these steps to connect your WhoGoHost email to your Android device:
- Open Settings on your Android device.
- Scroll down to Accounts and tap Add Account. Choose either POP3 or IMAP.
- Enter your full email address (e.g., email@yourdomain.com) and tap Manual Setup, then Next.
- Select the account type: POP3 or IMAP.
- Enter your email password.
- For the Incoming Mail Server, enter:
- Username: your full email address
- Password: your email password
- Server: mail.yourdomain.com
Your email account is now active on your device.
Finalize your setup:
- Account Name: give your account a name to identify it on your phone
- Your Name: type the name you want shown to your recipients (e.g., “Wale Sobo”)
- Tap Next to complete the setup.
Your WhoGoHost email is now ready to send and receive messages on Android.
