Once the DNS settings have been properly configured, your email service is ready to be used. Now, you need to create email accounts for users on your Domain. You can either add one user account at a time or multiple accounts at once.
Creating a new email account From Whogohost Dashboard
To add a new email account, follow the steps below:
- Login to your client area, click on Services>>> My services.

- Click on the Email hosting service.

- Go to the product page for your email hosting product you have purchased. Click on Email Accounts on the left Tab or Scroll to the bottom and click Email accounts under Emails and Domain Management
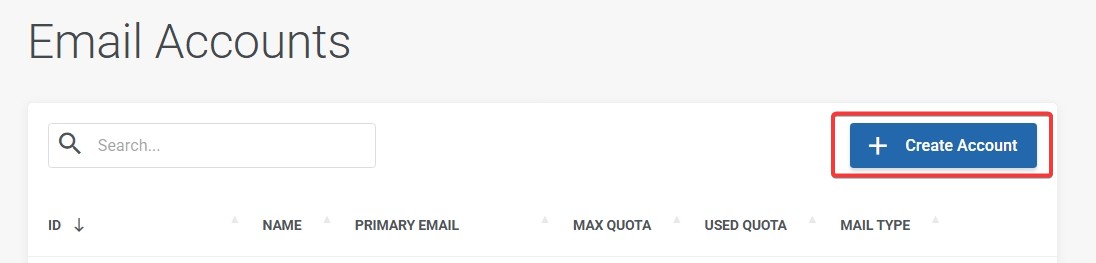
- Click on Create Email Button.
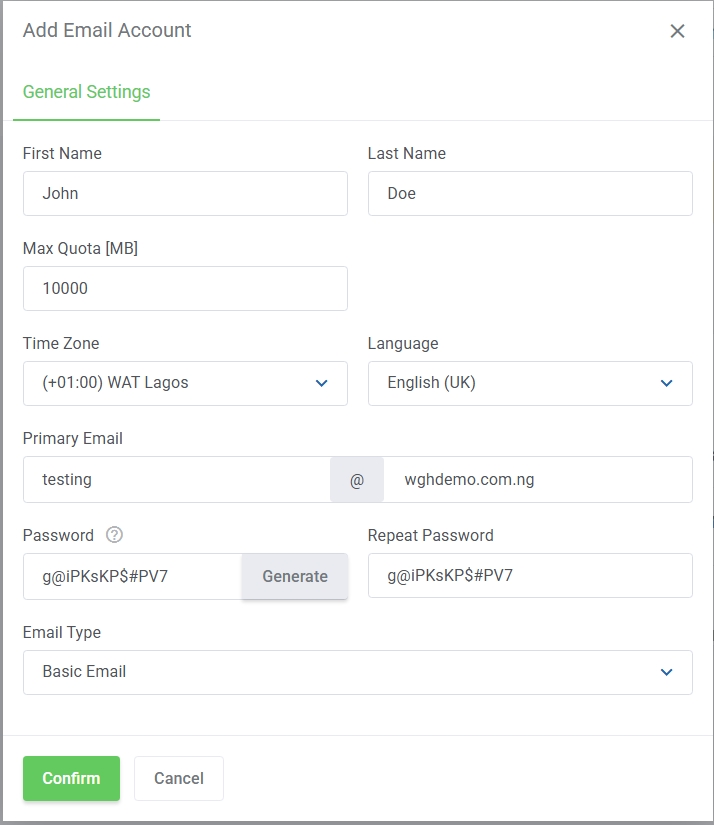
- Enter the necessary details needed to create the account. You can Generate and copy the password
- Click on Confirm button to complete the creation of the account
Once the account is created, a success page will be displayed. The details of the account that you have added, including a password that is generated for the user can be used for configuring the account in a desktop email client such as Outlook or Thunderbird.
Creating a new email account From Go54 Dashboard
To add a new email account, follow the steps below:
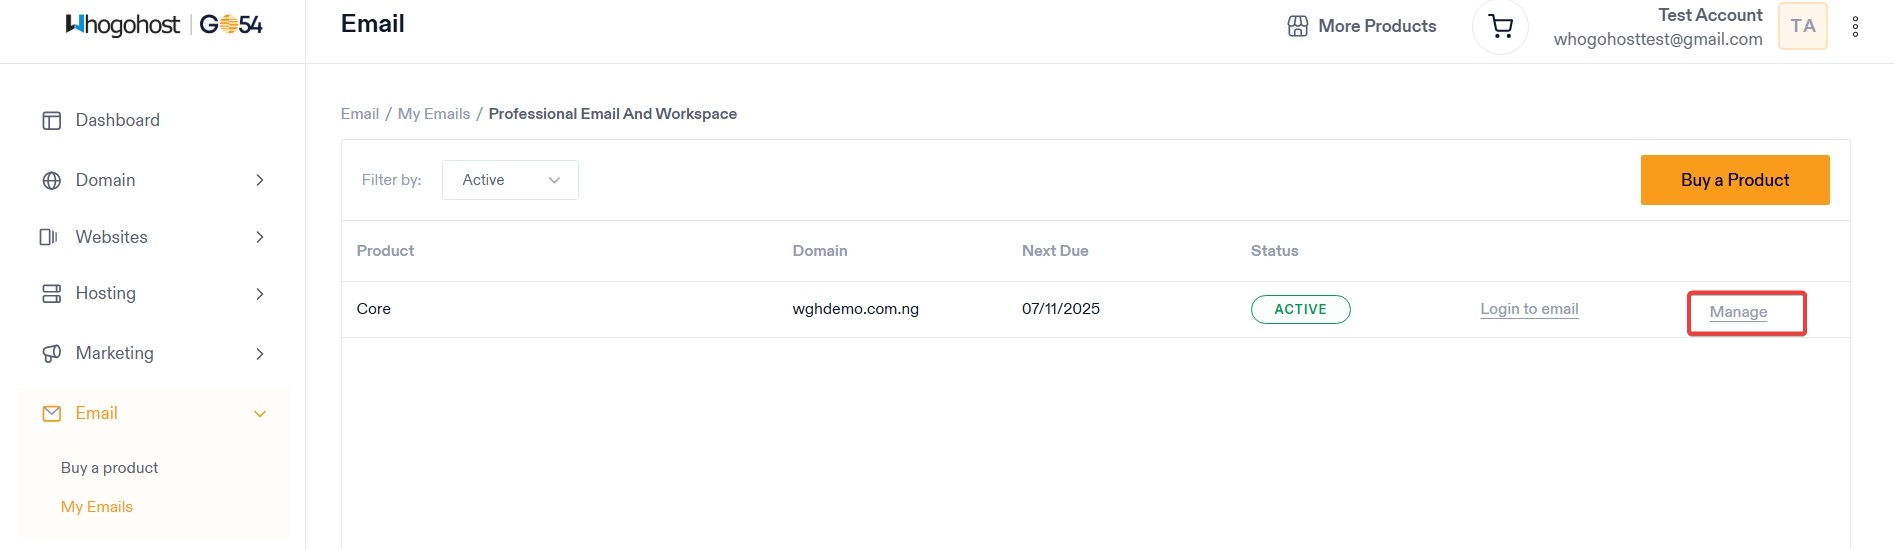
- Login to your Go54 client area, click on Email>>> My Emails on the left Tab.
- Select the Cloud Mail
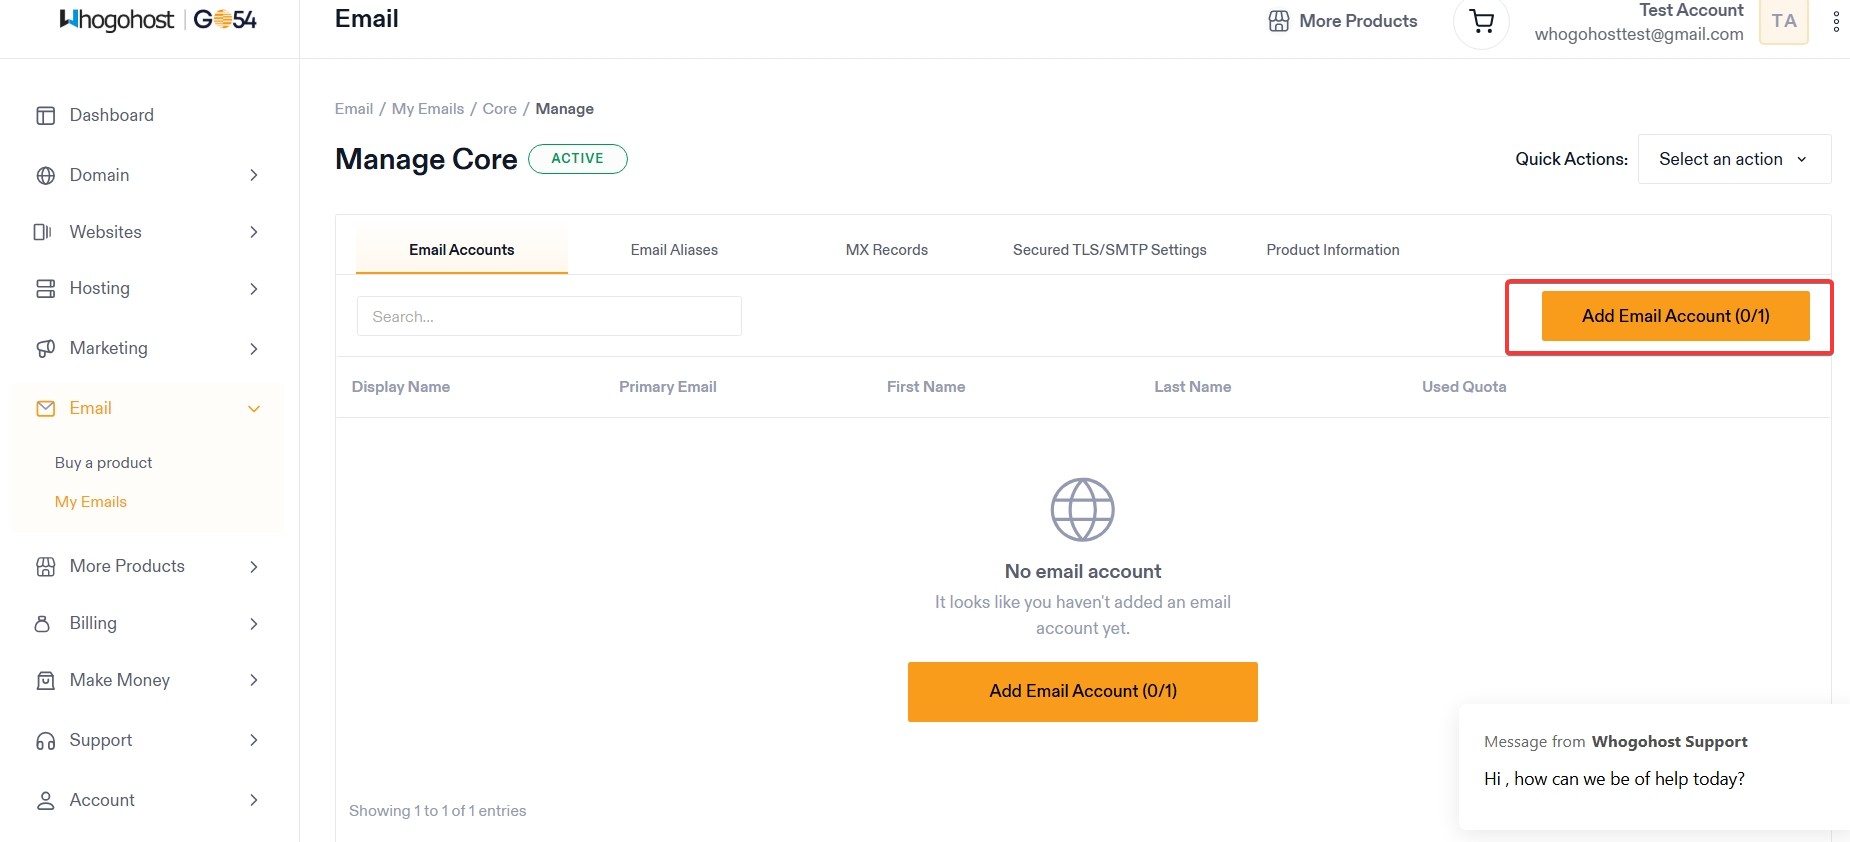
- Click on Manage
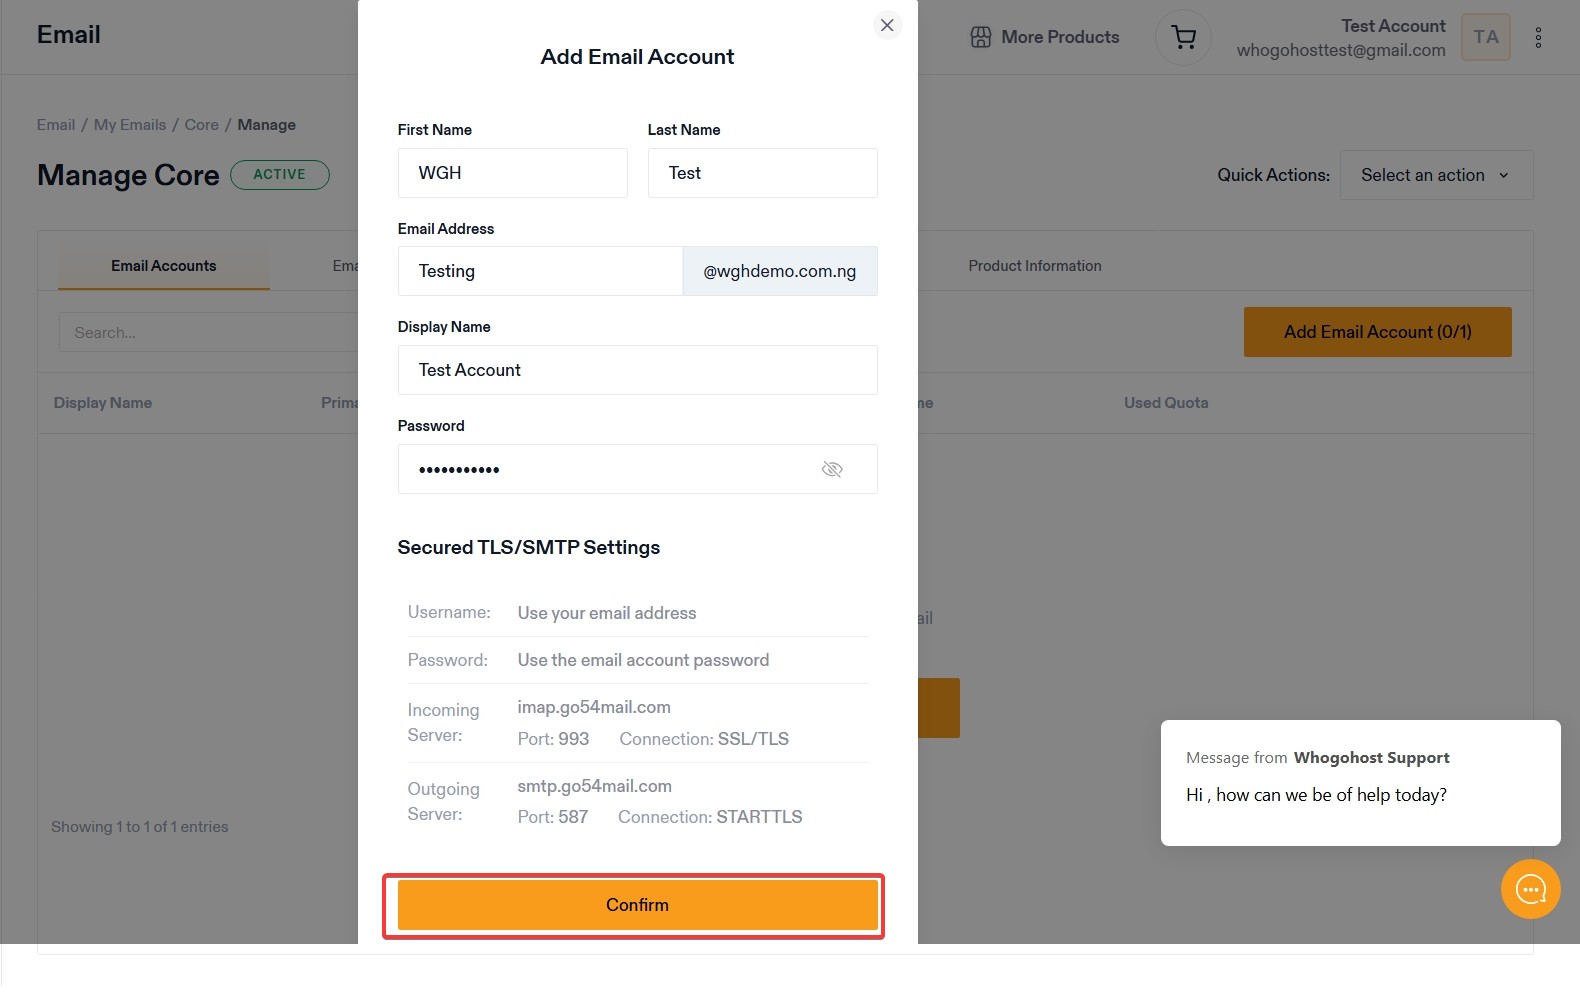
- Click on Add Email Account
- Fill the email form and click Confirm